Genshin Impact Character Shader Breakdown [Unity URP]
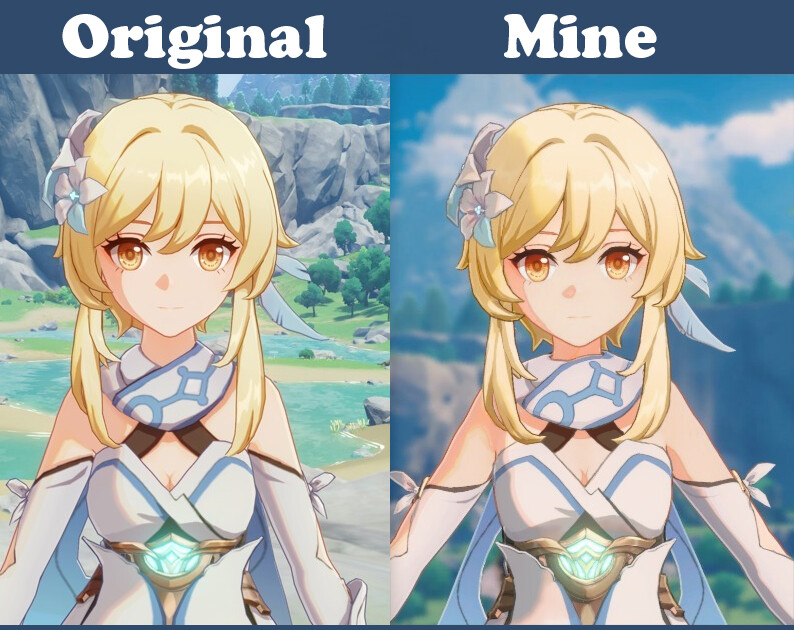
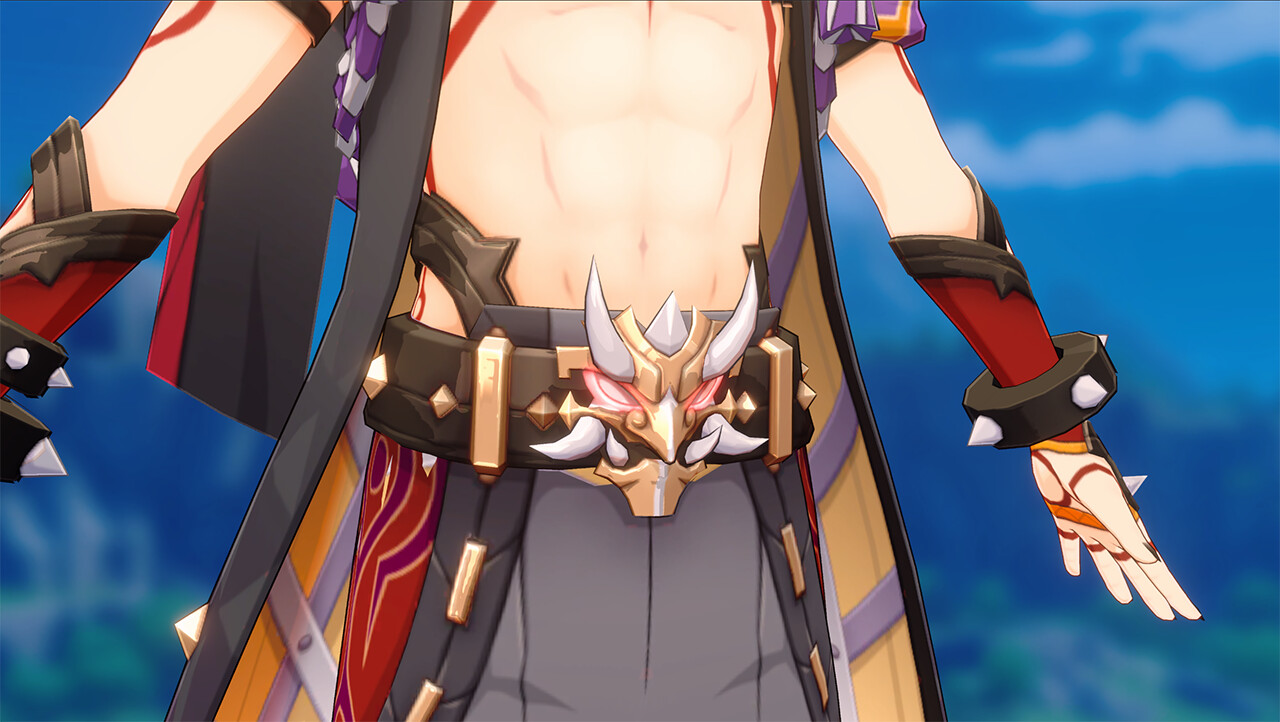
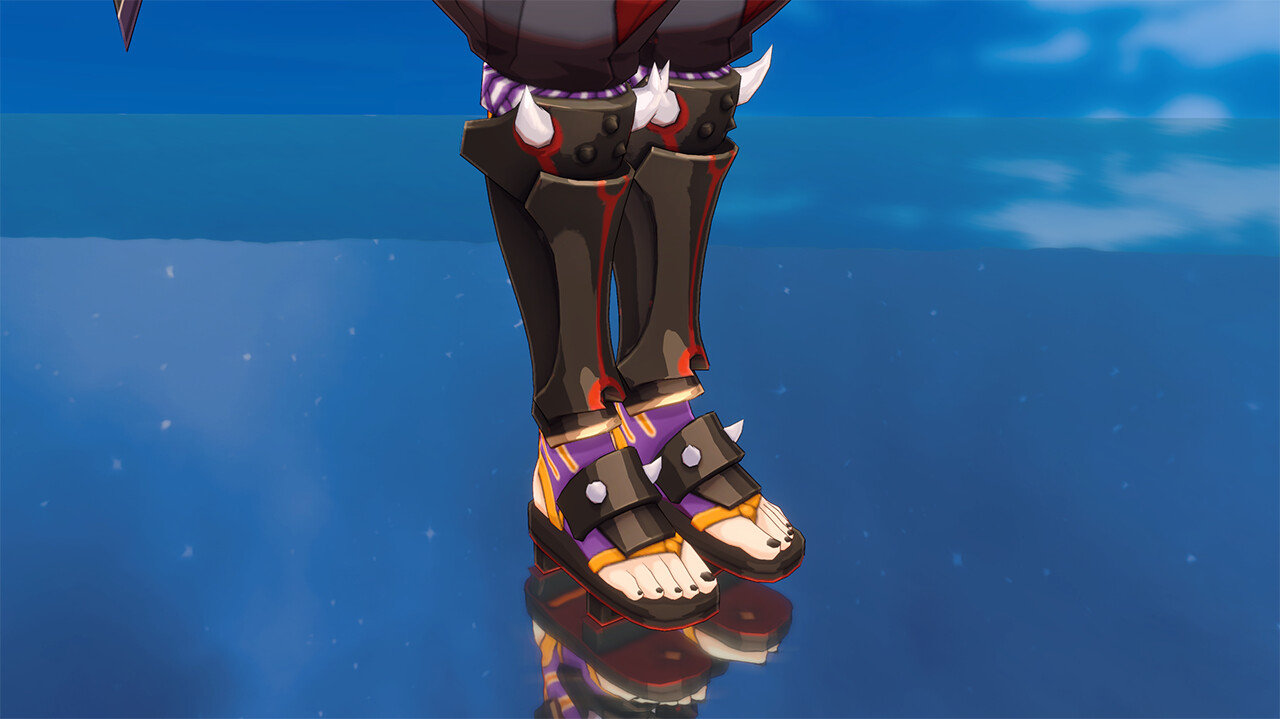
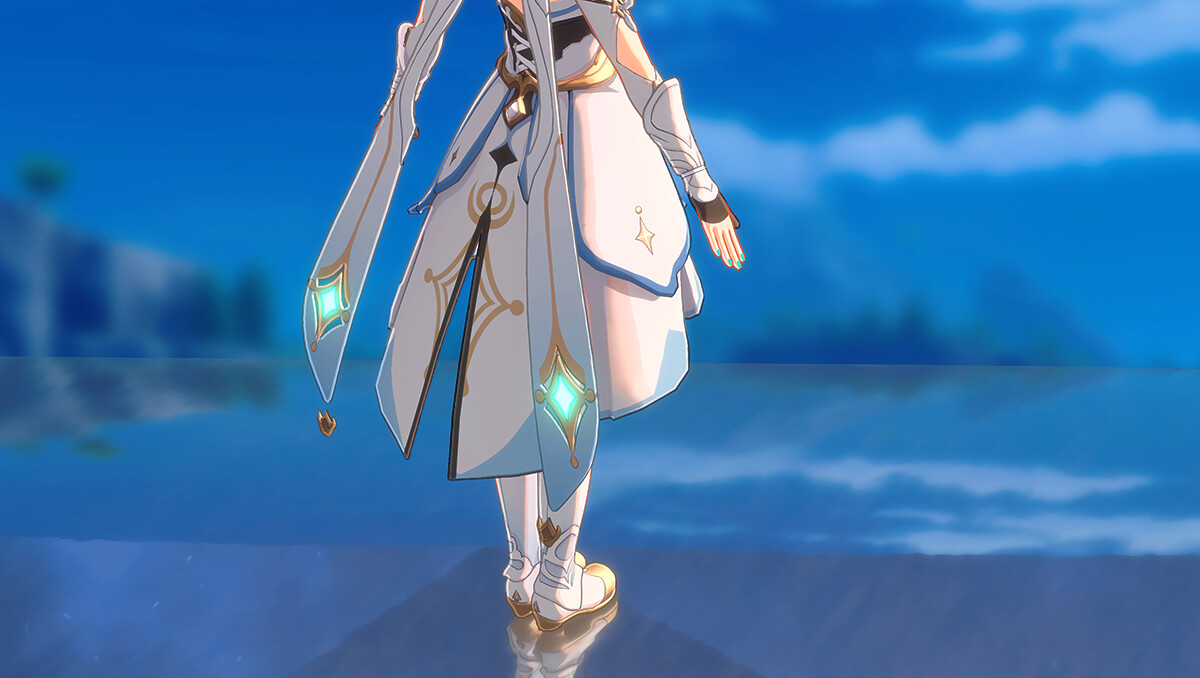
I love Genshin Impact art style so I decided to study how the character shader is made, I used Unity URP.
Here's a little breakdown that I wanted to share with the community.
The characters and textures are from Hoyoverse company, you can officially download the models here:
https://genshin.hoyoverse.com/ja/news/detail/5885
In my case I am using the models only for educational purposes.
Shader features:
- Custom ligthing for cel shading (support multiple lights, cast shadow).
- Outer shadow.
- Anisotropic hair.
- Face shadow tweak.
- Metallic.
- Outline.
- Special Face Outline.
- Edge Highlight.
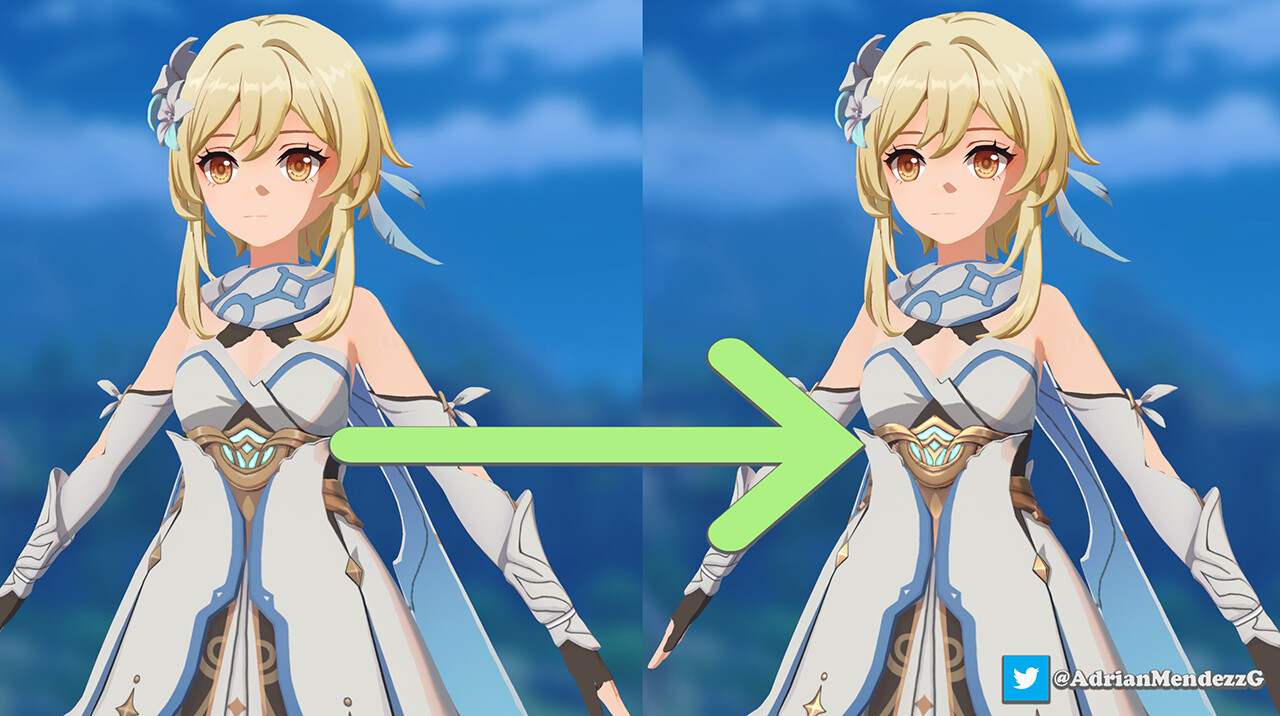
- Custom tonemapper.
- Dithering.
- Fog.
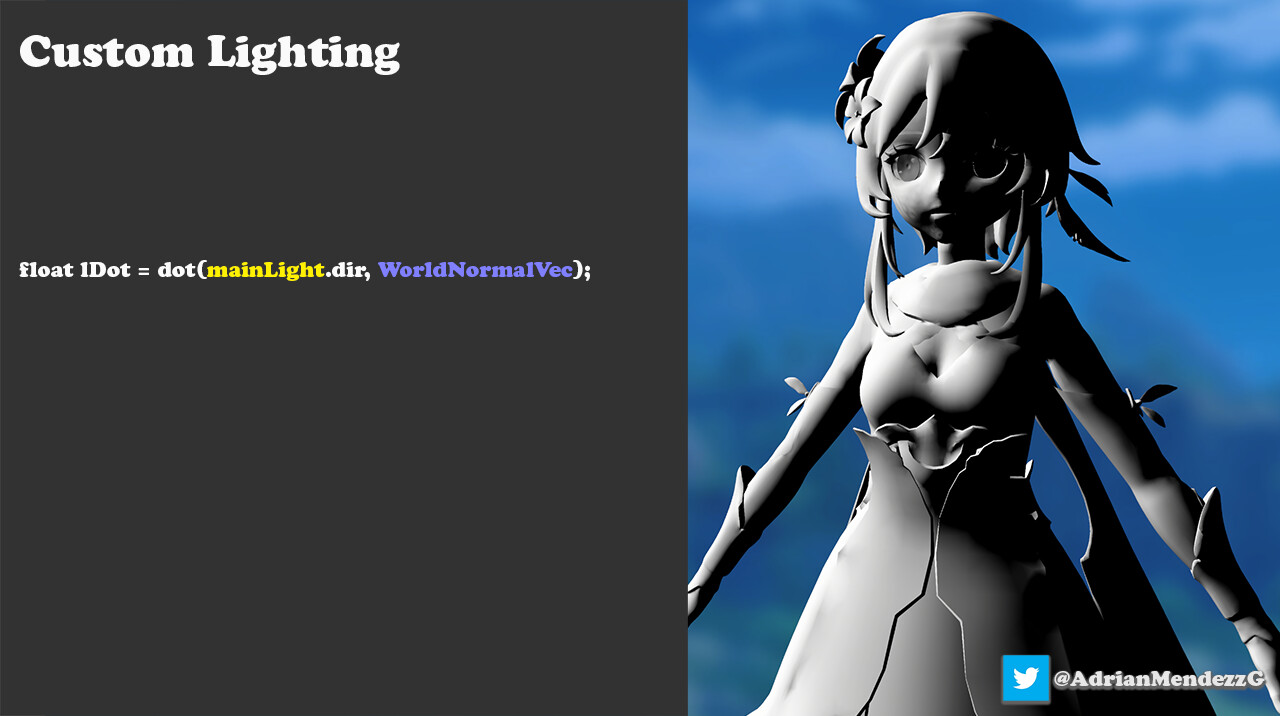
Custom Lighting
First, do a simple NdotL (NdotL is the dot product between the normal and the light direction).

Custom Lighting
The most important thing in Cel shading style is the transition between light and shadow, in Genshin Impact they not do an extreme hardness so 0.1 should be enough.
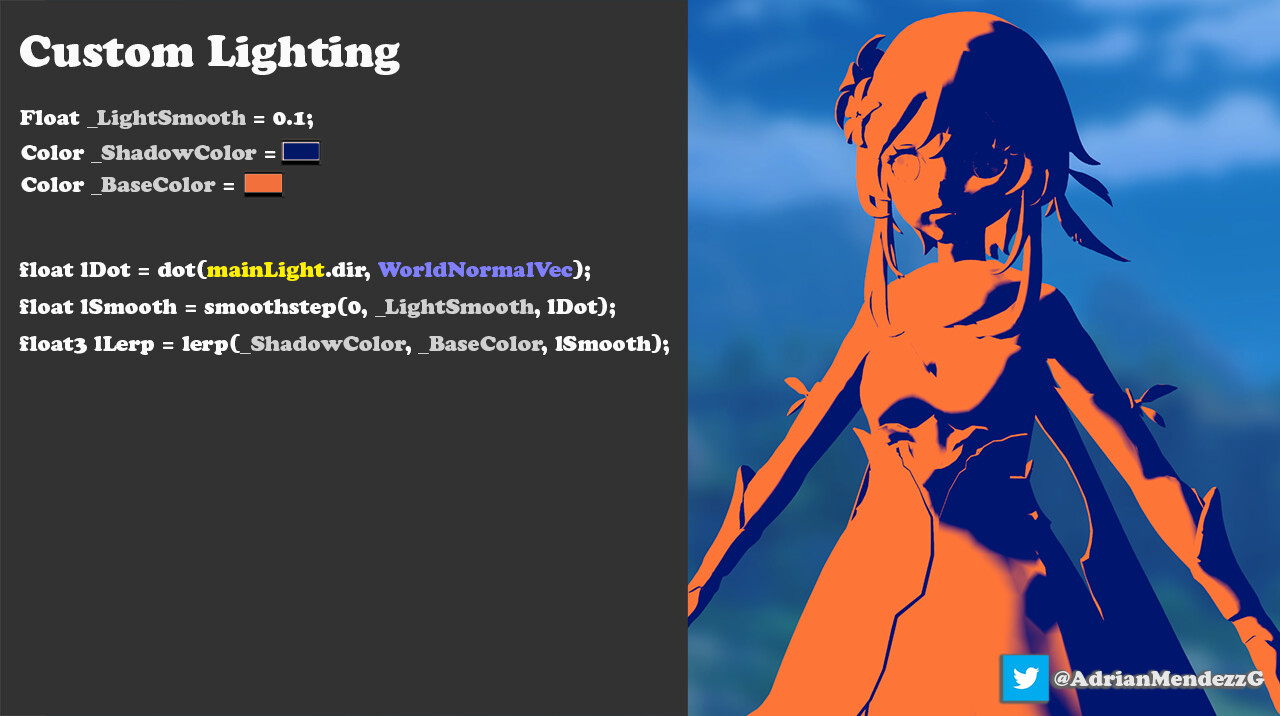
Custom Lighting
Do a lerp with the previous result to tint the shadow and the light to have more color control.
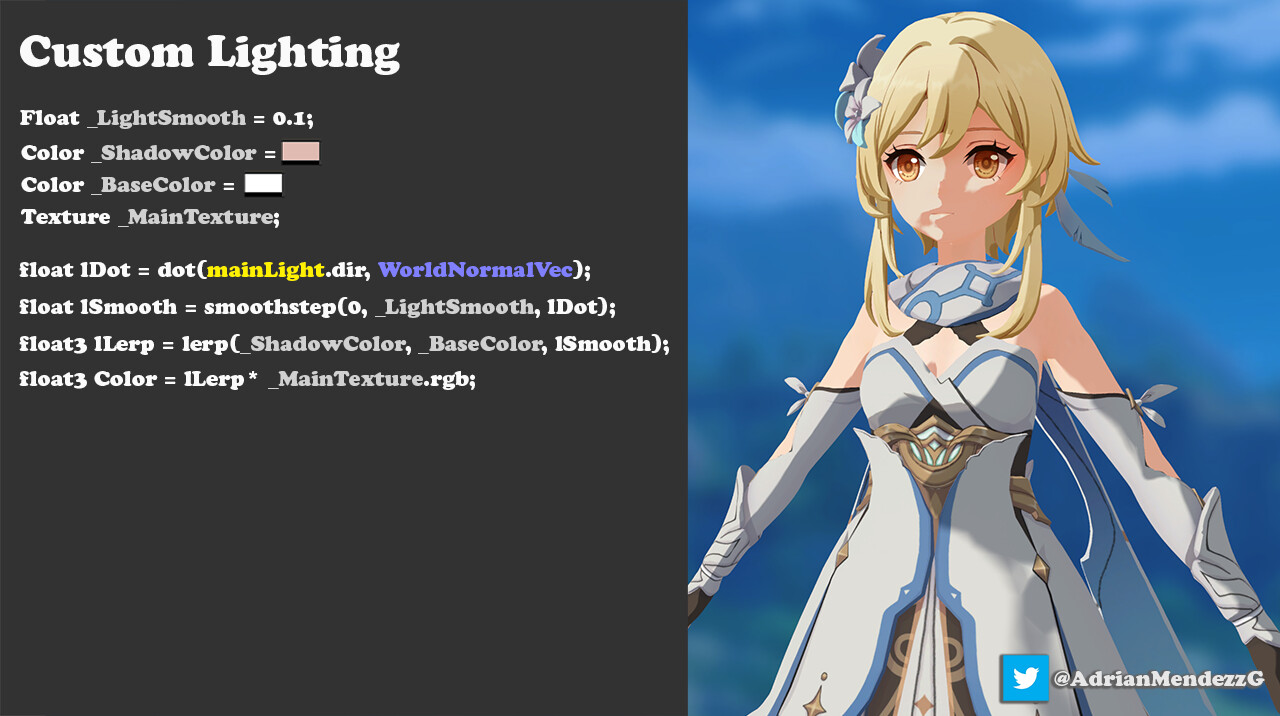
Custom Lighting
Multiply the result by the base texture.

Outer shadow
Genshin impact adds an outer extra small shadow with a different color. Do another NdotL but this time offset it a bit and make the transition harder, tint it with a similar color.
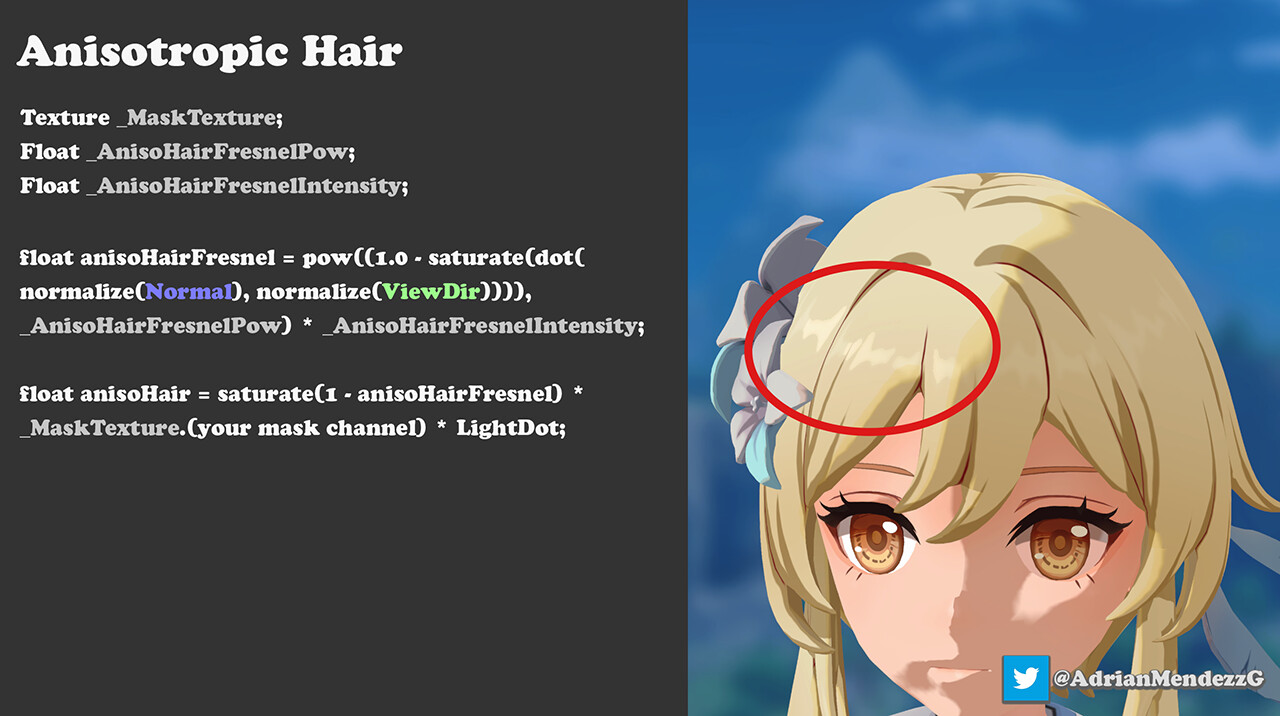
Anisotropic Hair
Hair shines only when it receives light and you can also remove the sides with fresnel for a better result.
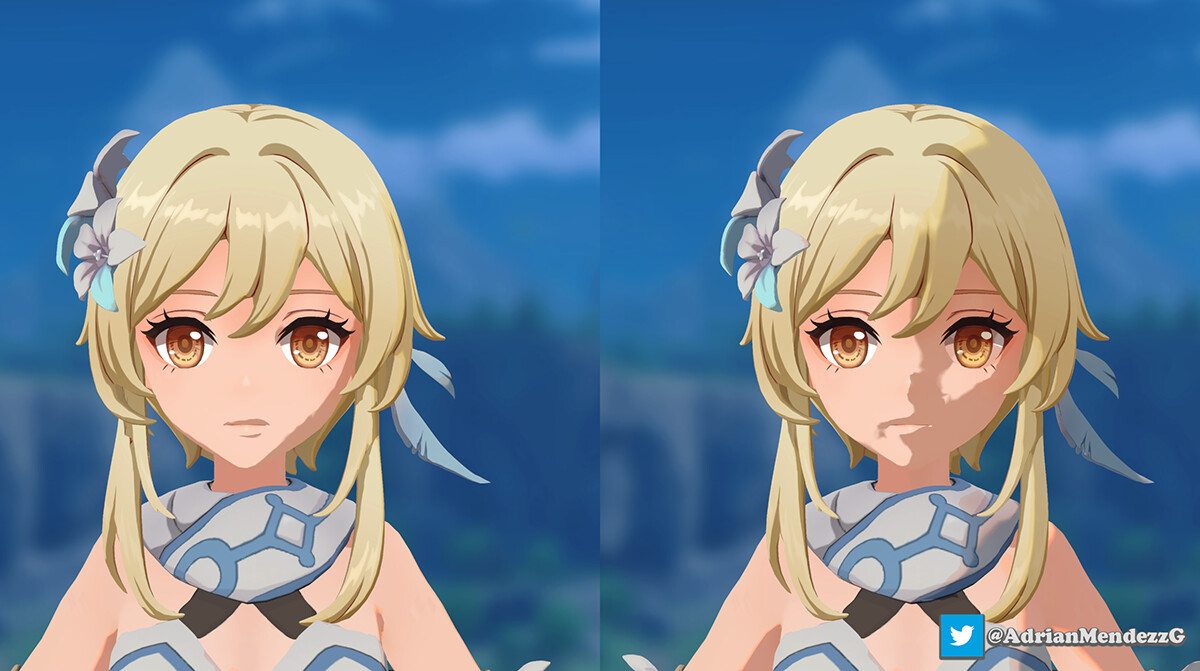
Face Shadow
A simple NdotL is not the best option for cel shading artstyle, especially for the face. Depending on the direction of the light the result can be ugly.
We can edit the normals direction to avoid bad results, but there is a better option.
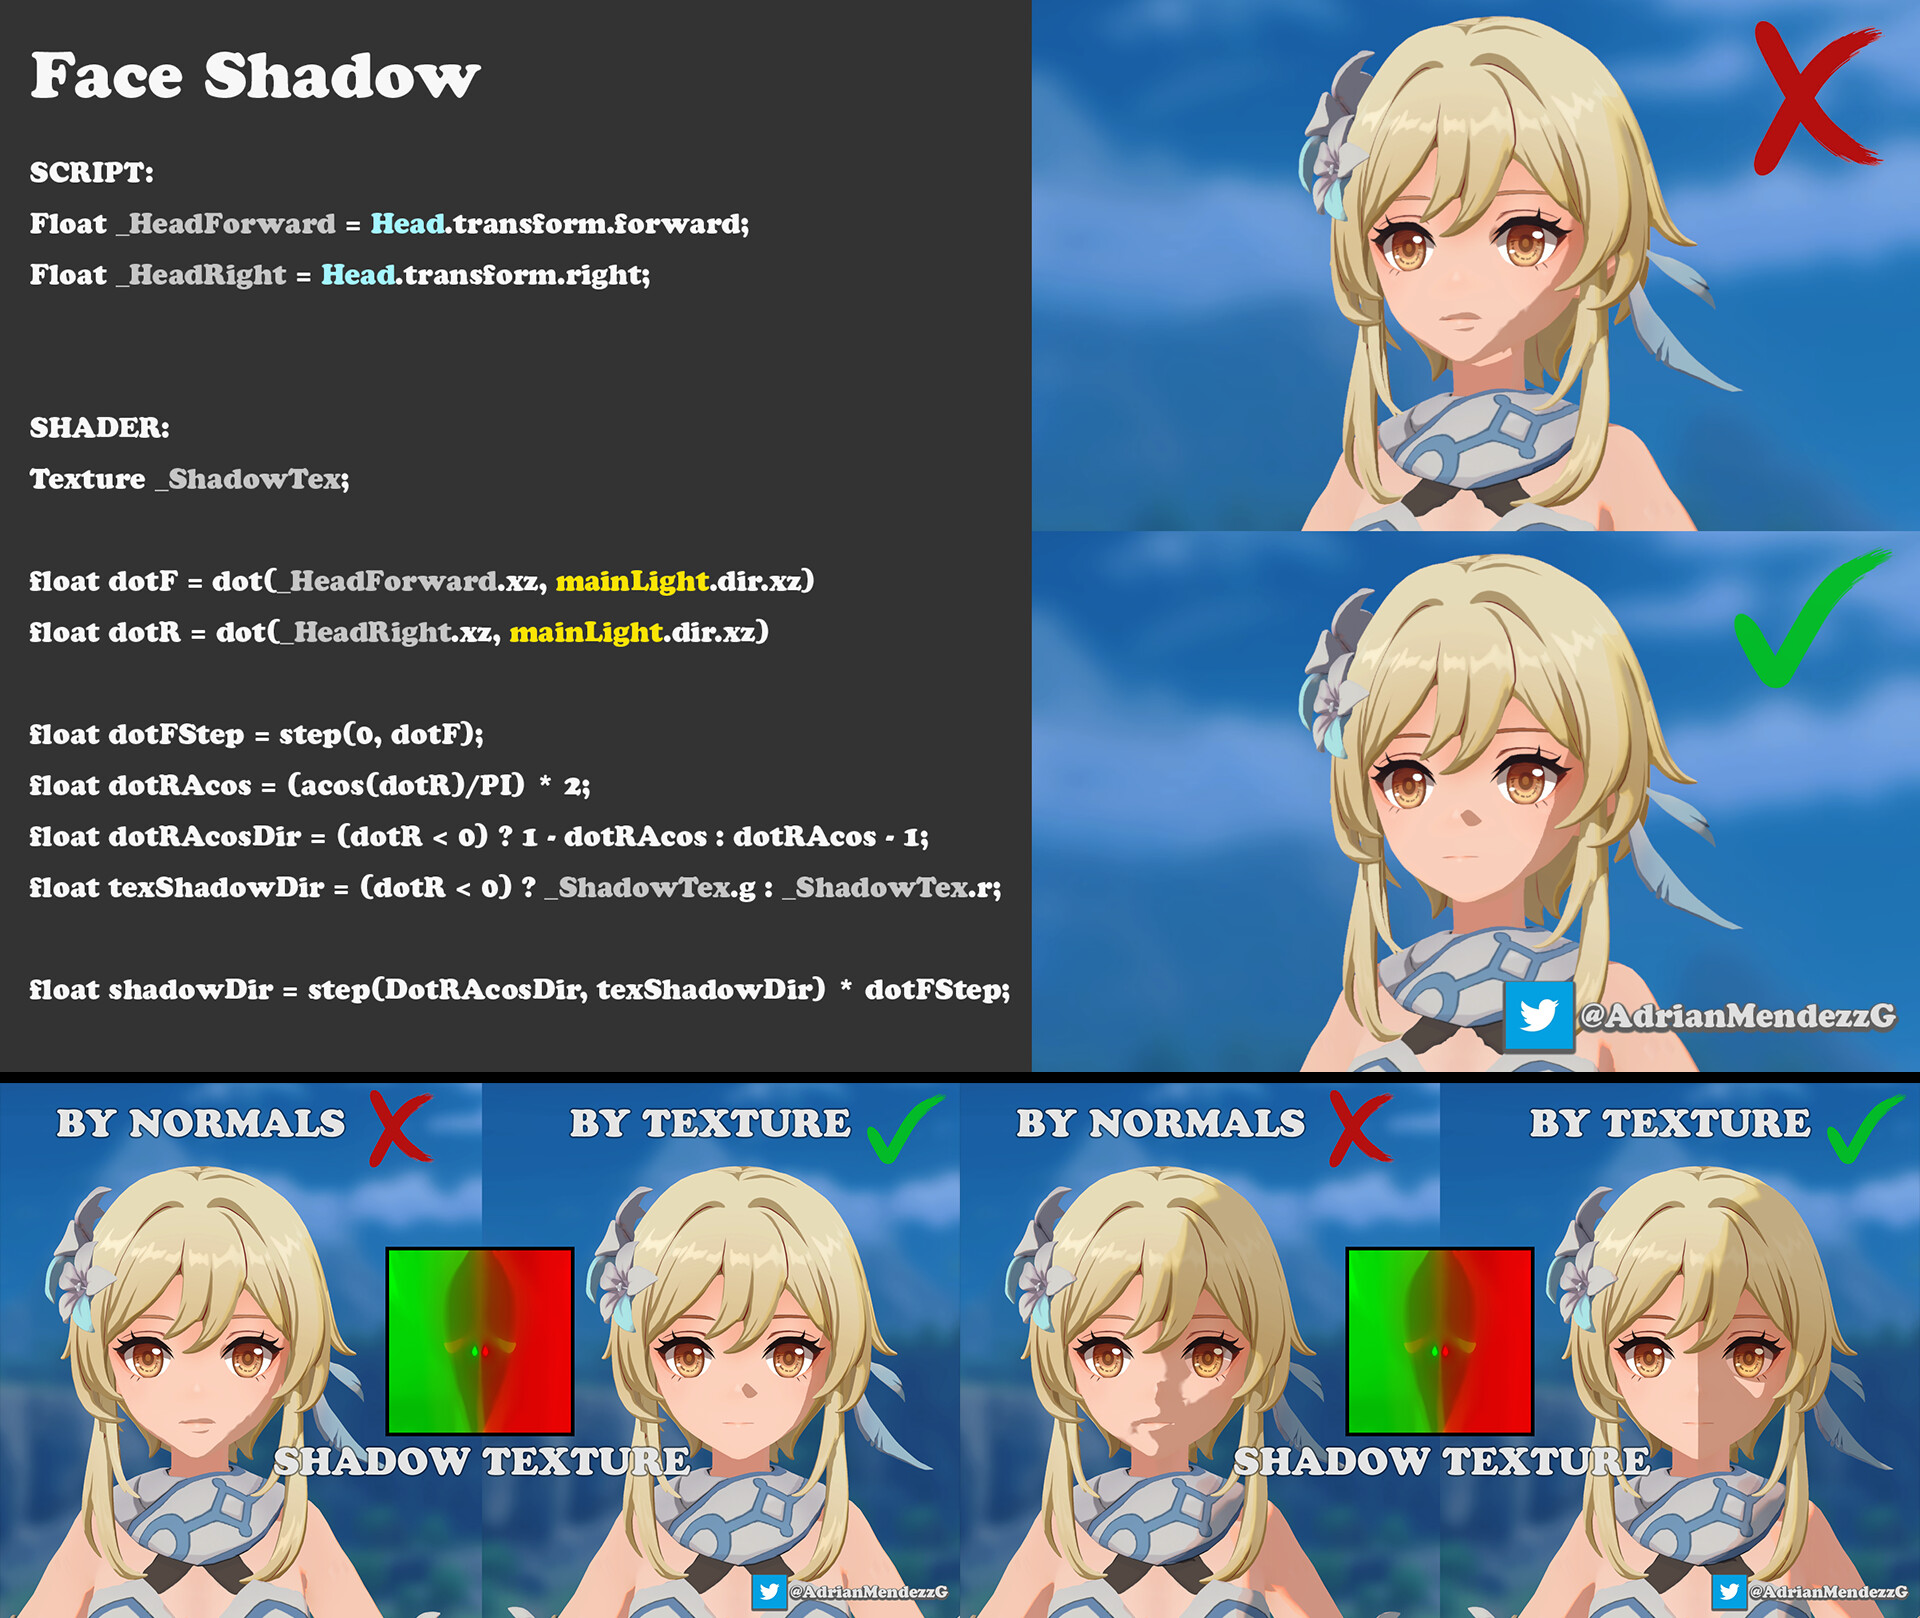
Face Shadow
With this texture we can modify the shadow shape:
Channel R will be for degrees 0 to 180.
Channel G will be for degrees 180 to 360.
Metallic
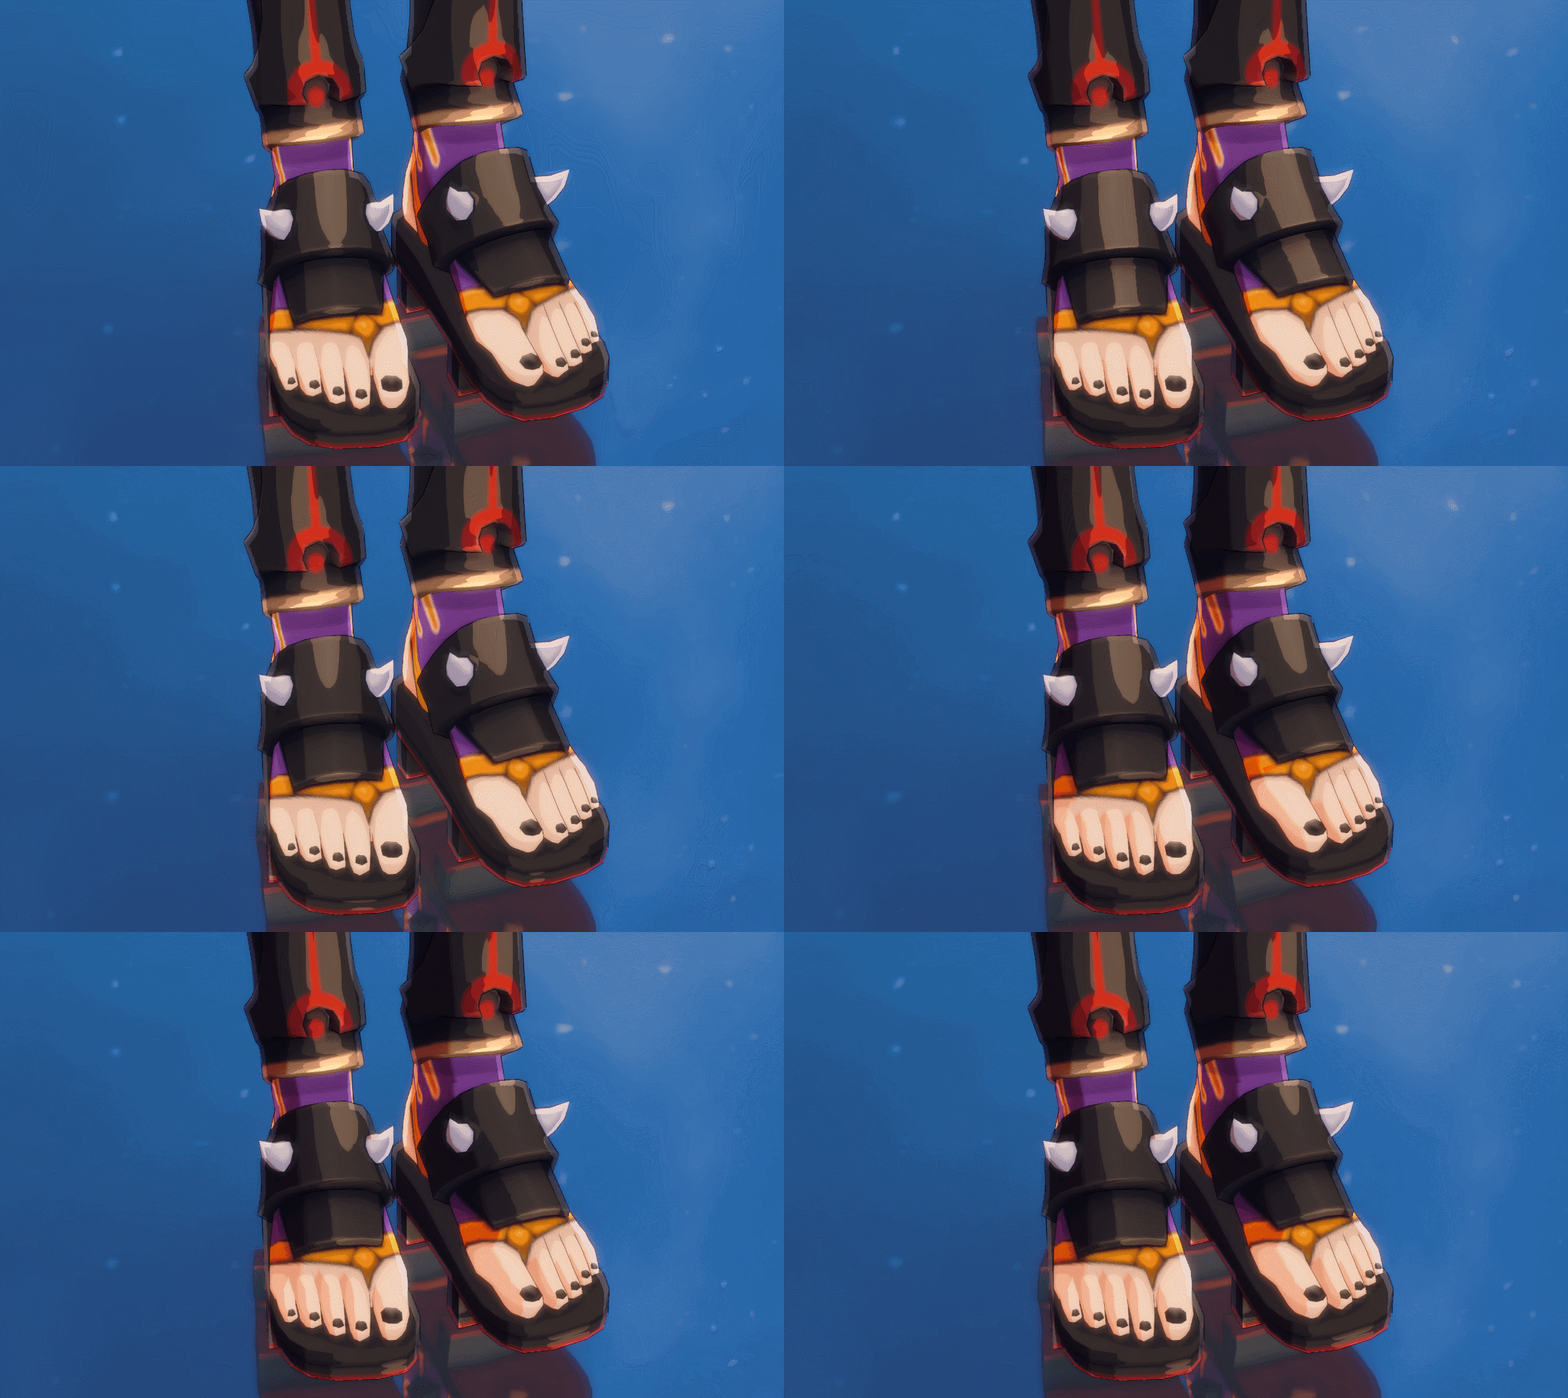
The metallic parts looks like a kind of blend between diffuse texture and matcap. So, make a Matcap should be enough, but I did something similar and simple.

Metallic
1- Use a Gradient Texture with the desired colors to tint your metal and do a DOT between Normal Vector and View Direction + Light Direction to do the UVs.
2- Distort the Gradient Texture UVs with a normal map if necessary.

Metallic
Metallic

Metallic
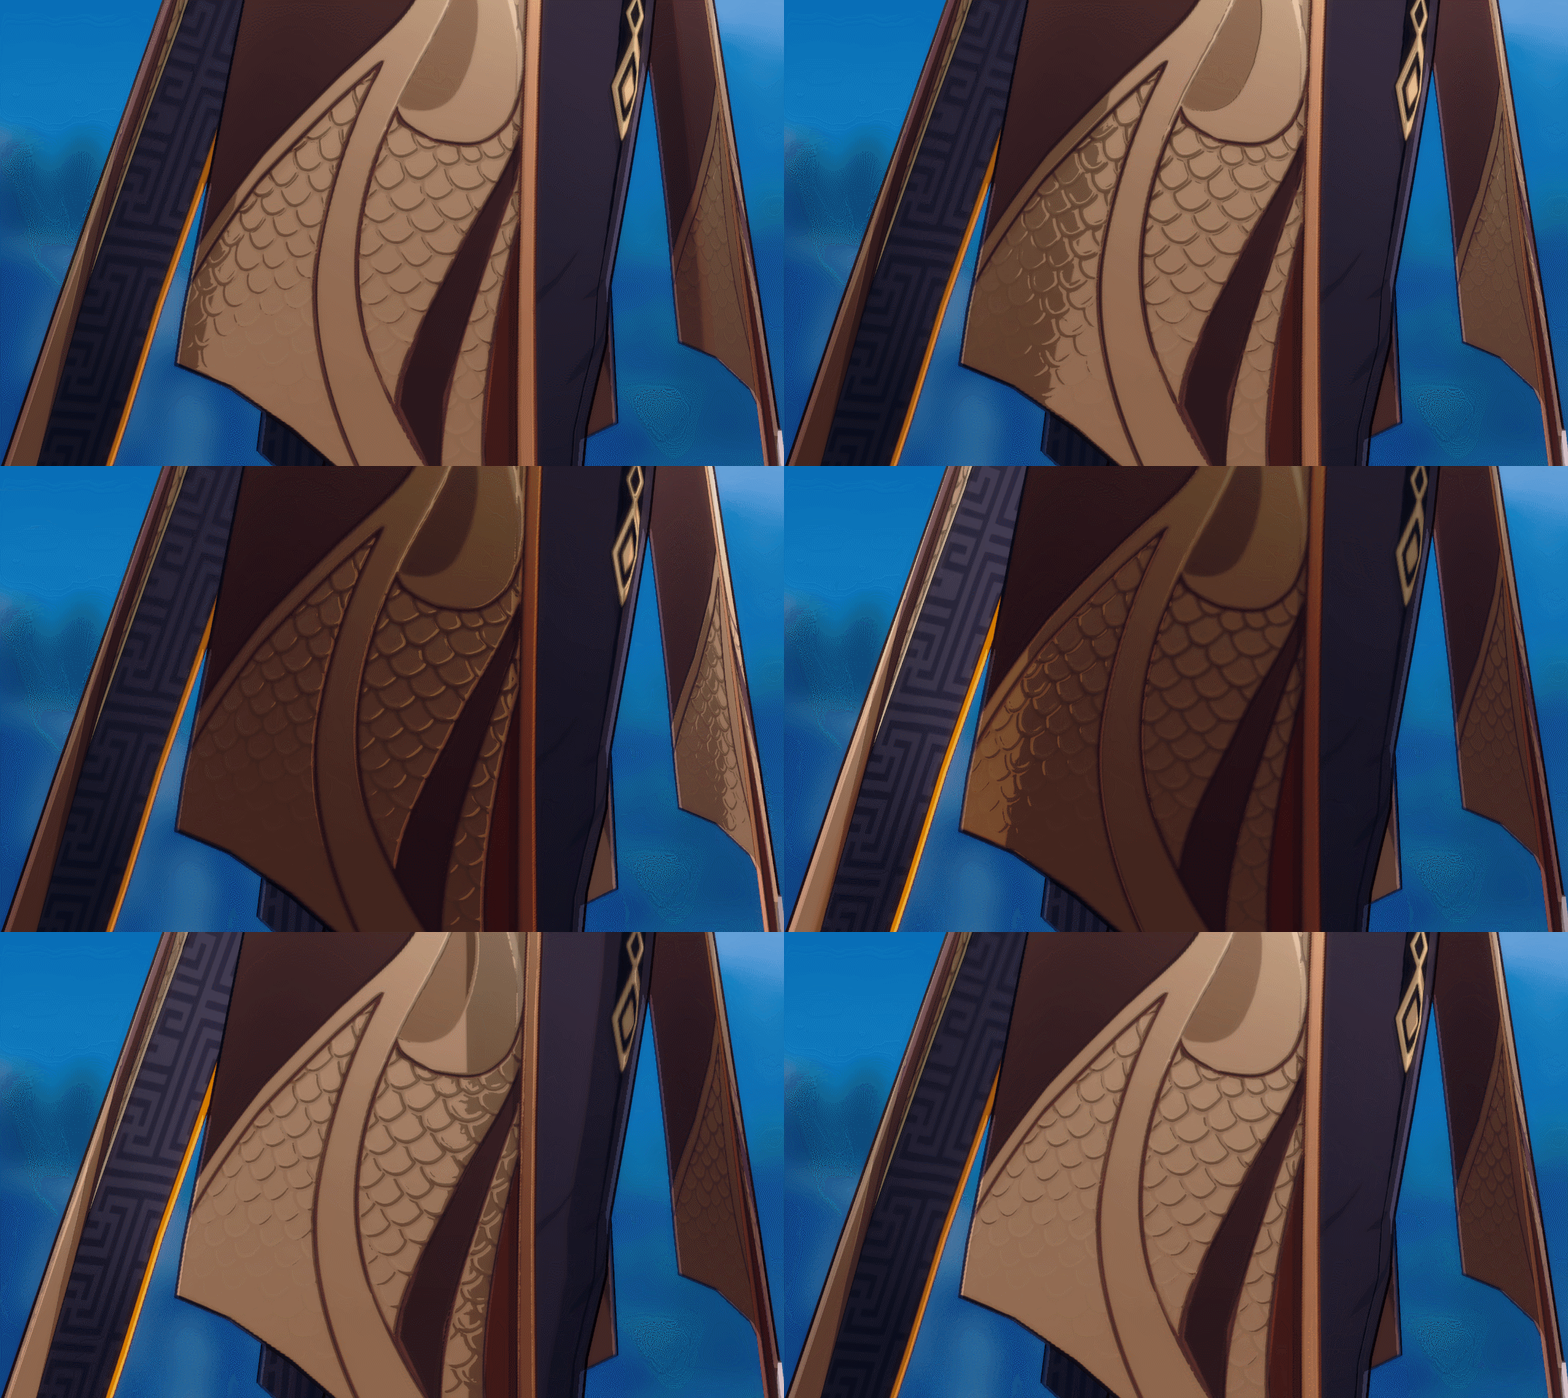
Metallic with Normal Map
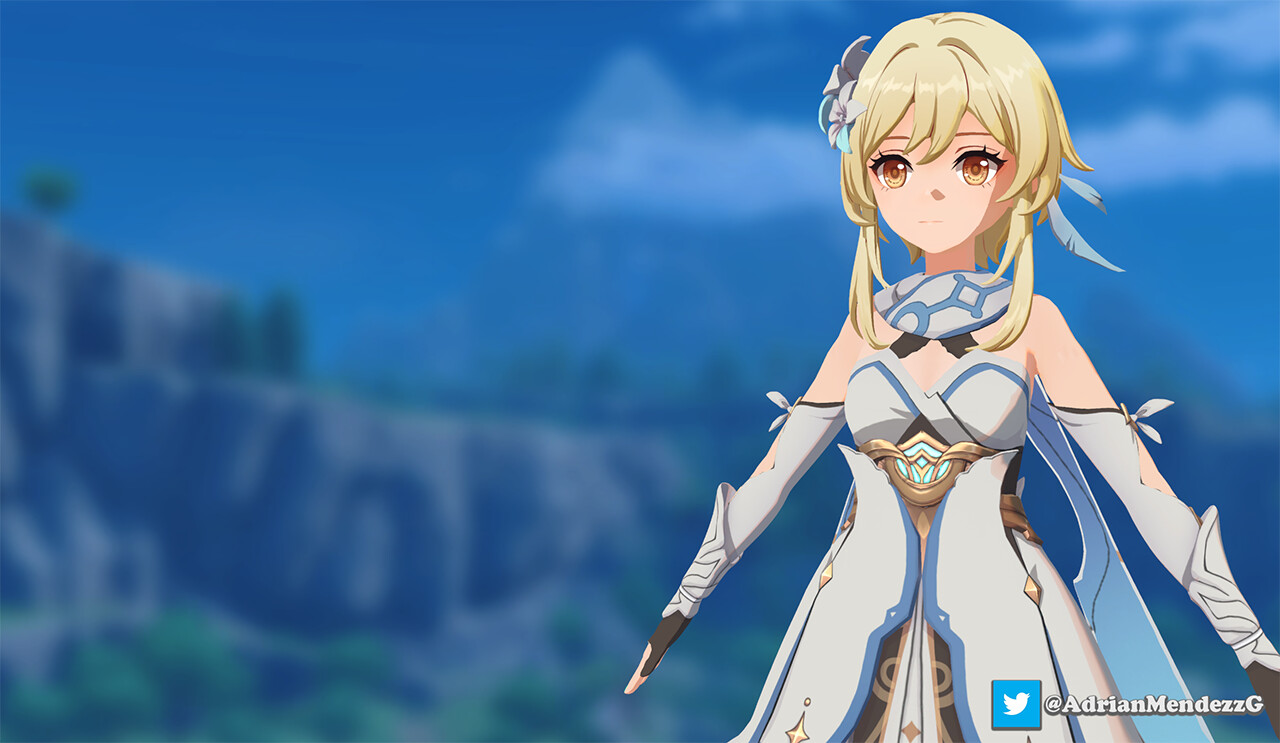
Light & Fog
Finally multiply the final result by the color light and fog. The character shader is finished. Let's move to postprocess.
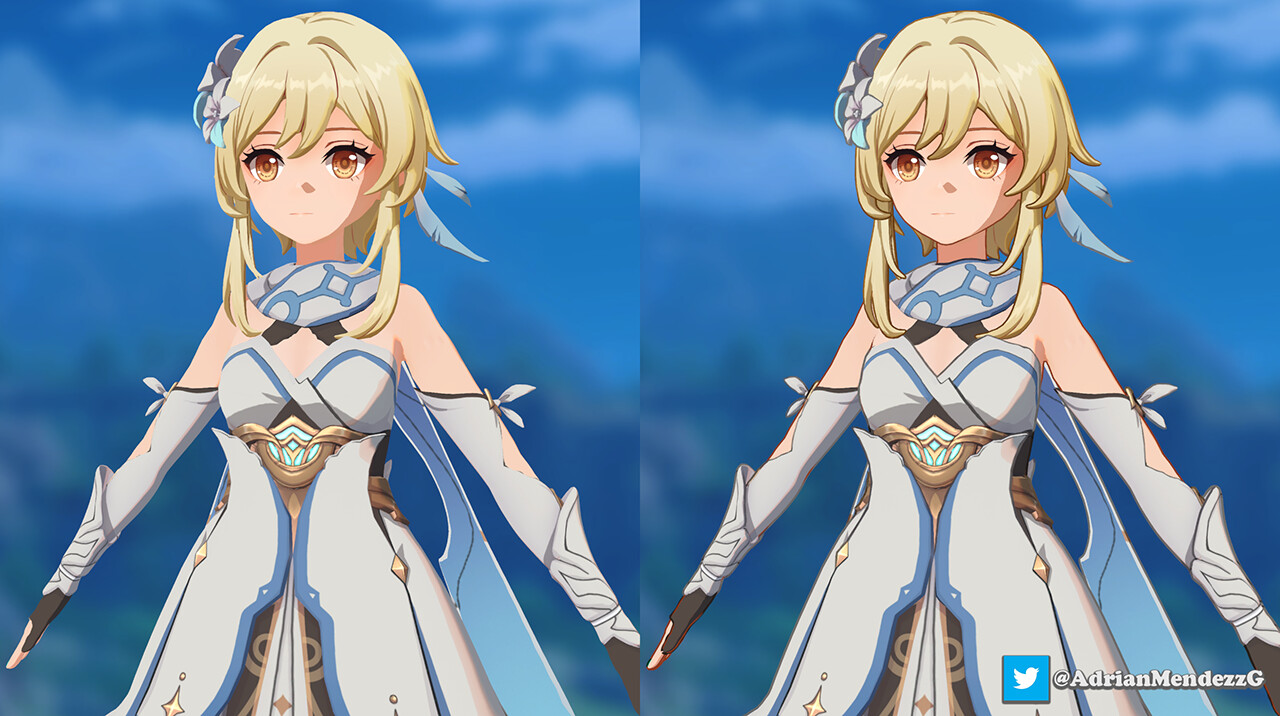
Outline
Outline postprocess is better since the traditional method: duplicate, scale and flip the mesh... is less precise.
For custom postprocess we need the blit render feature, I used this:
https://github.com/Cyanilux/URP_BlitRenderFeature
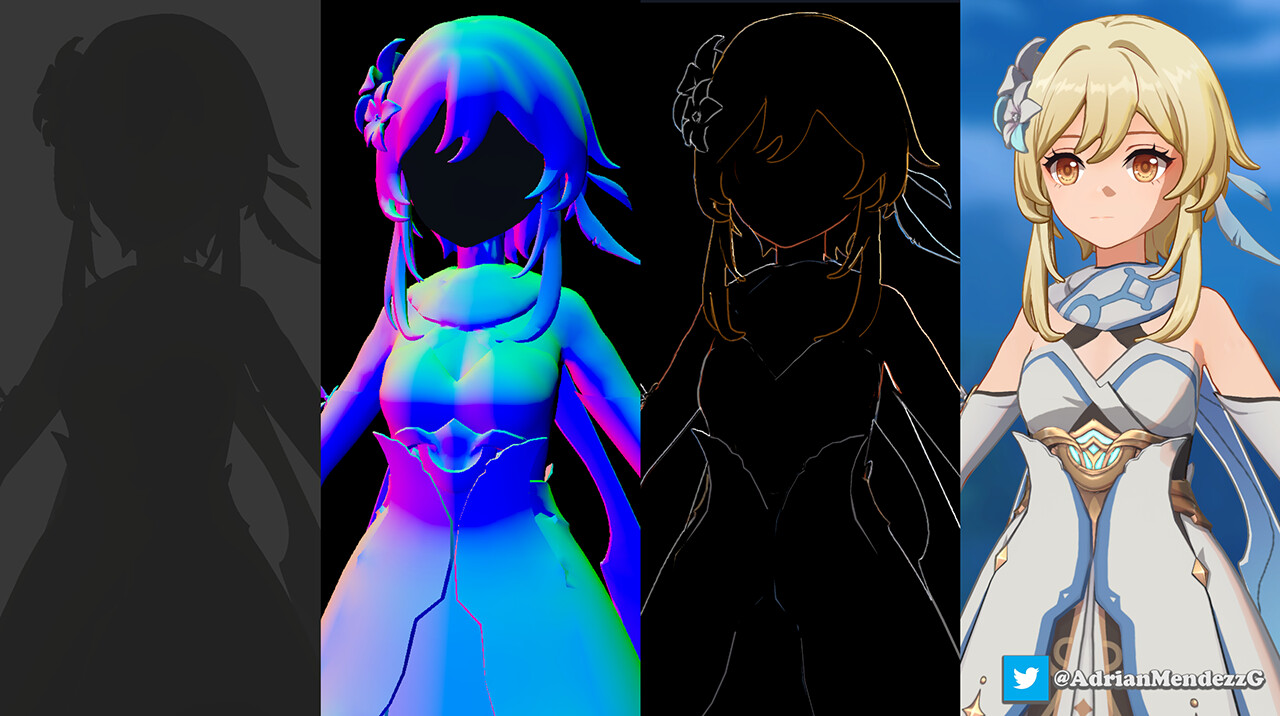
Outline
1- Detect the edges using the Depth Scene Texture And the Normal Scene Texture to do the same.
2- Combine both results for maximum edge coverage.
More info on this article:
https://roystan.net/articles/outline-shader.html
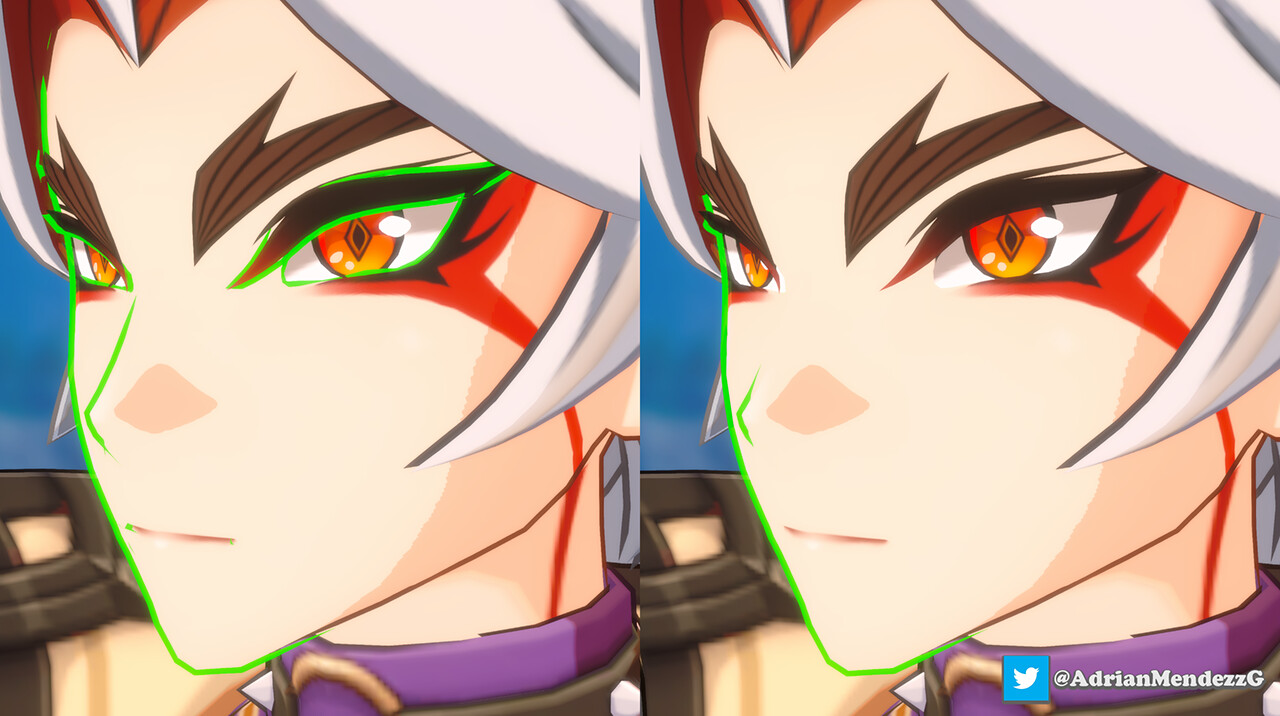
Outline Face
To avoid unwanted outlines in places like the face, the depth value is manipulated to make it difficult to appear.
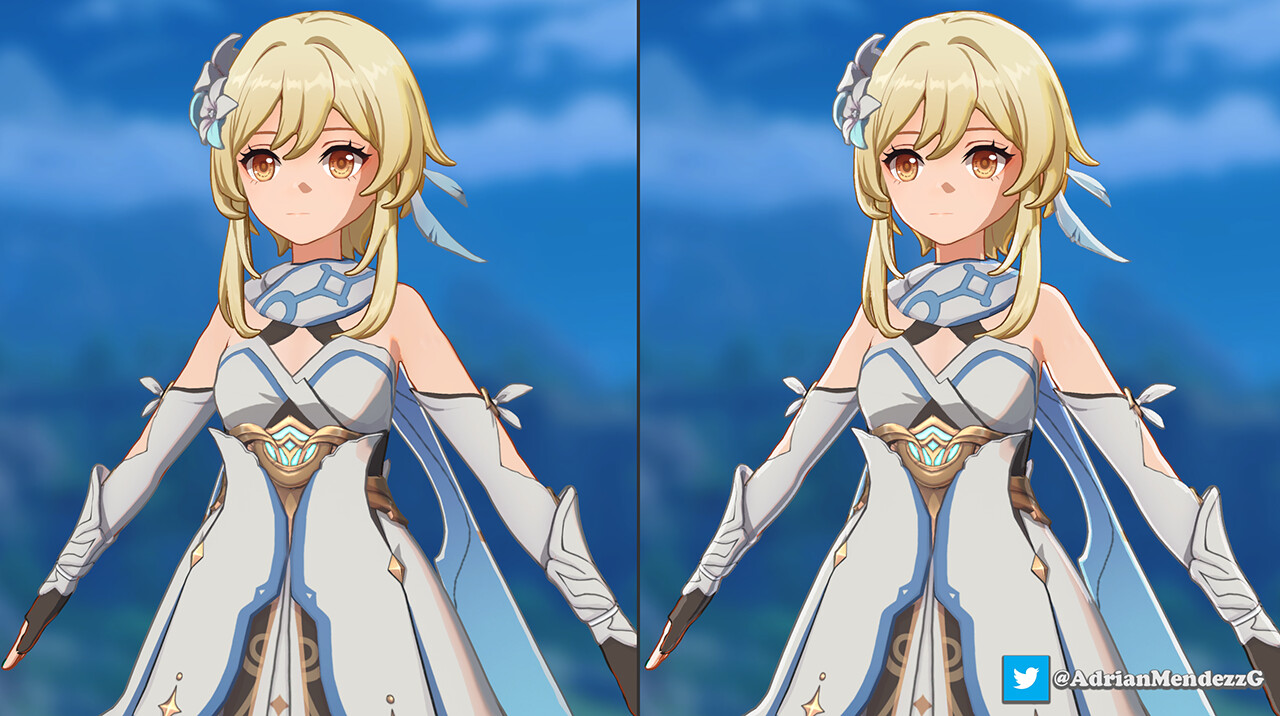
Edge Highlight
Genshin Impact it has a white outline around the character like in most Animes.
This IS NOT A FRESNEL.
Is a post-process that reads the character silhouette and detect the edges with sobel filter to add them to the final image.
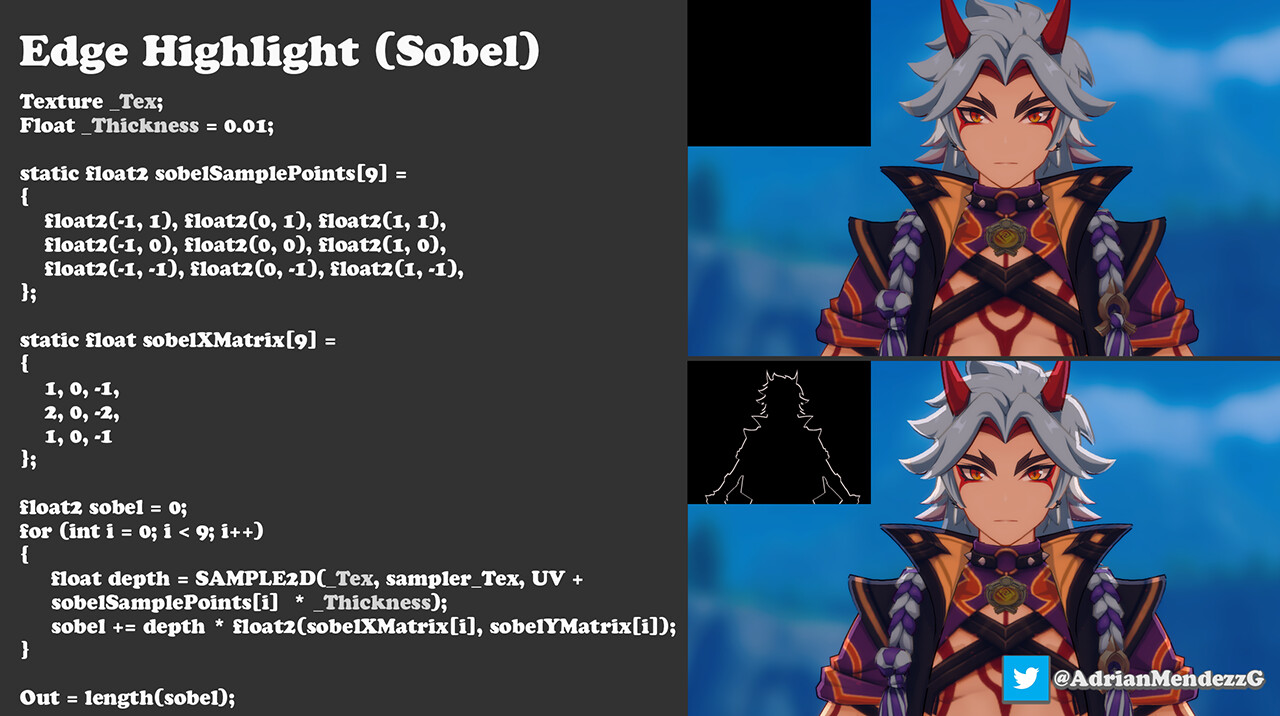
Edge Highlight
Read the depth scene texture then detect the edges with Sobel filter. The outline will be inserted on the side with the value of greater depth.
Finally, move the edge highlight down a bit.
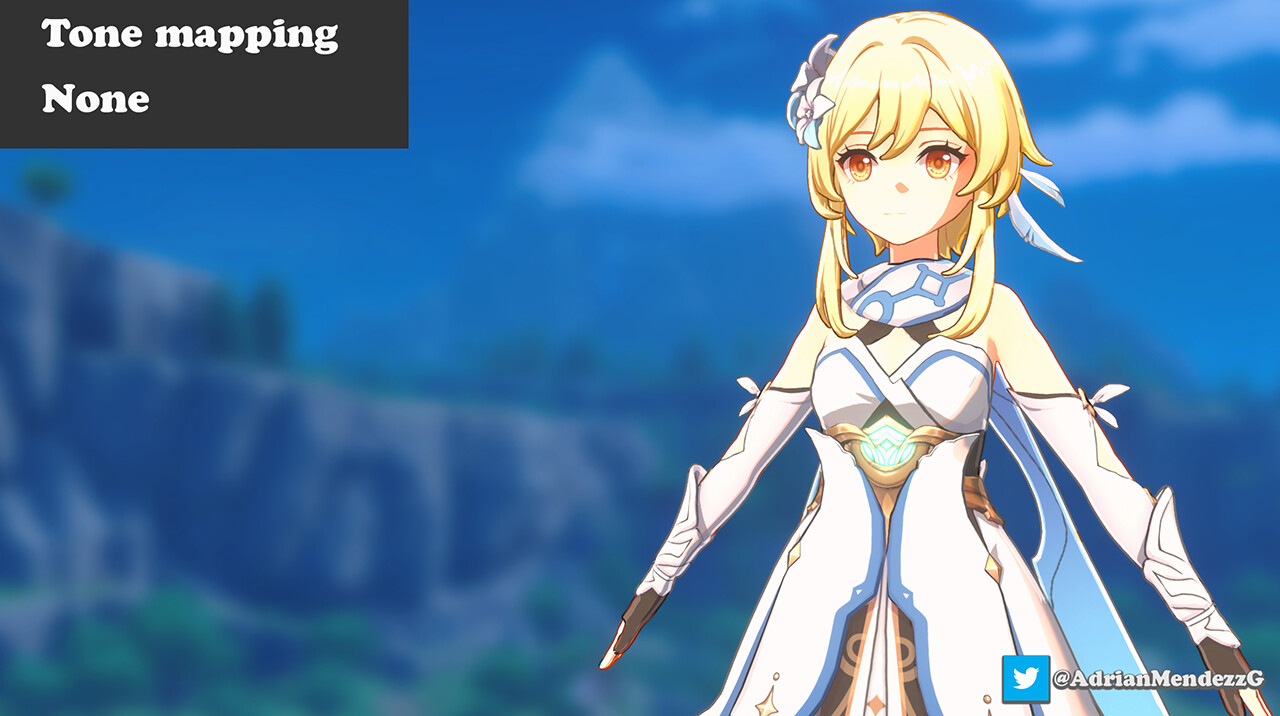
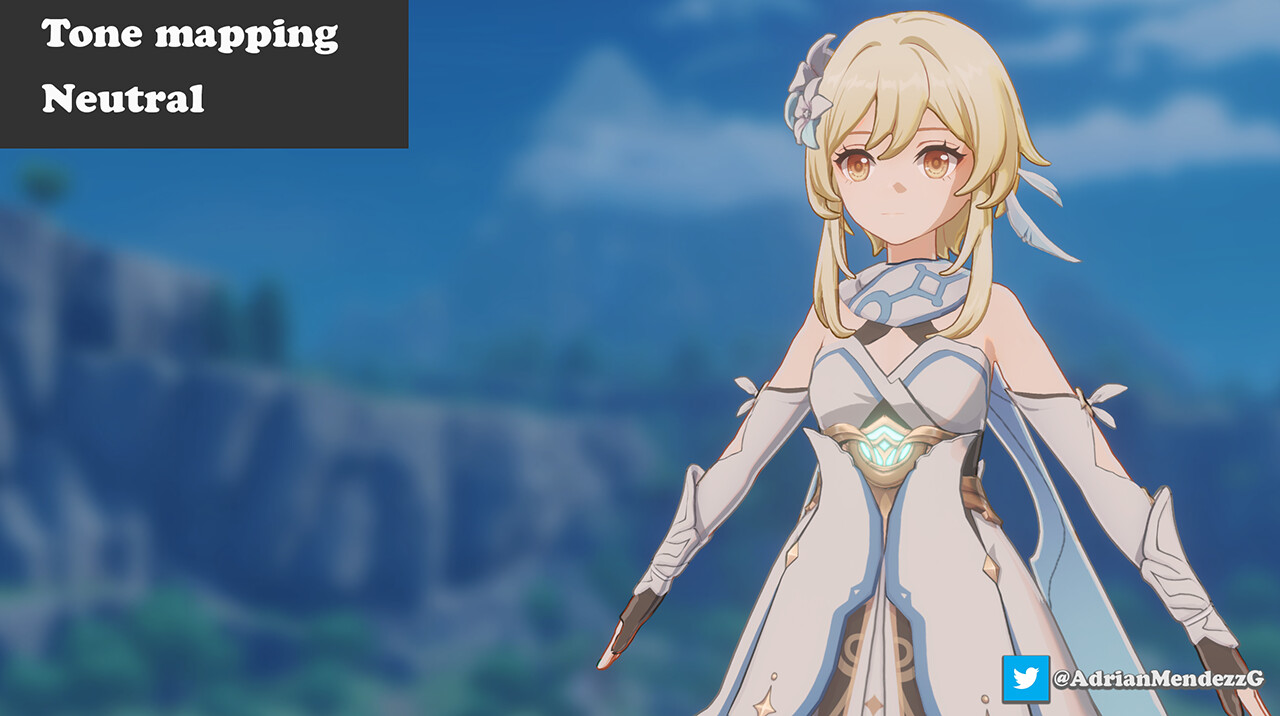
Postprocess Tonemapper
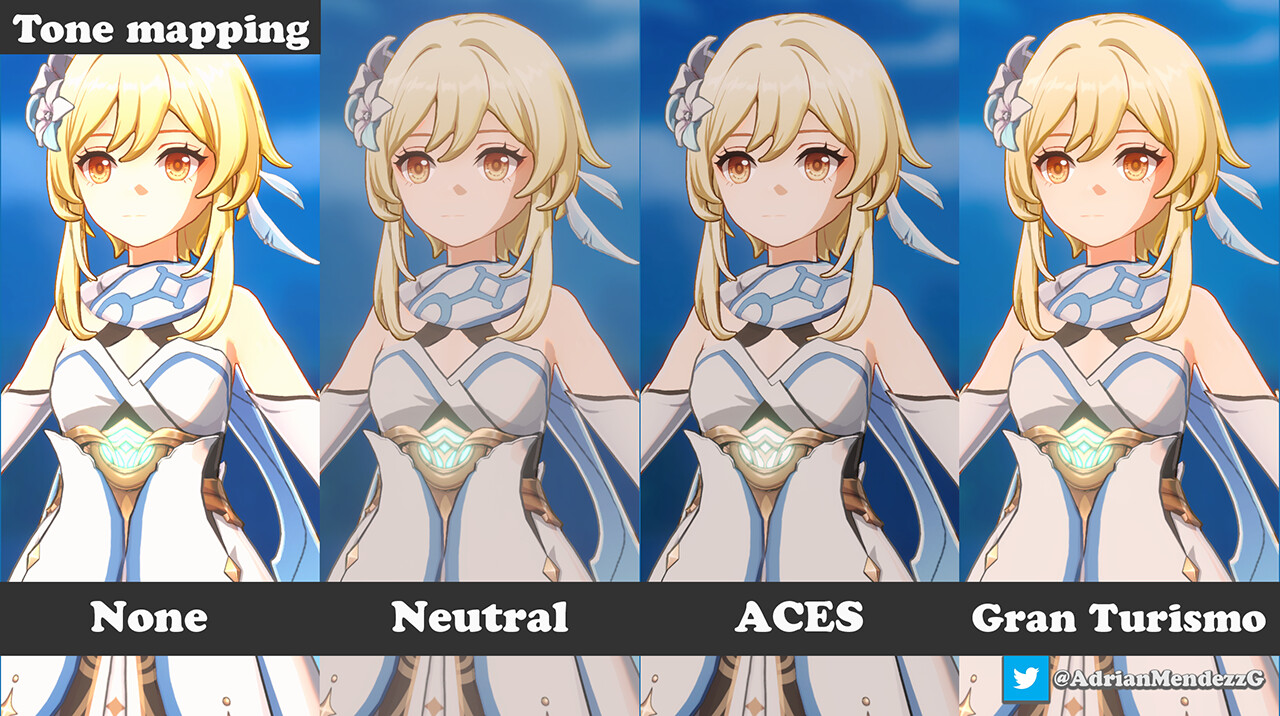
Unity URP has 2 tonemappers without adjustable parameters:
Neutral: Maintains color saturation but we will continue to have inadequate light in the most bright areas.
Aces: Fixes bright areas but contrasts and desaturates colors.
Postprocess Tonemapper
Neutral would be the best option, but it would be better to write a custom tonemapper.
Postprocess Tonemapper
I used Gran Turismo tonemapper (https://www.desmos.com/calculator/gslcdxvipg?lang=es) Since it keeps the color saturation and fixes burned areas. This would be ideal for cartoon style

Glasses Effect
I added a parallax effect for Sucrose's glasses, this is not used in the original but I added it as an extra.